

































by
P
Starting Position
- Place this where you want to appear at the start of the level.
- Can only place one.
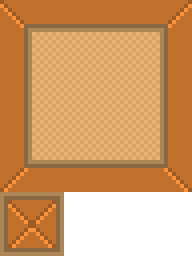
Hard Block
- Cannot pass through
- Can run on, normal speeds.
- Can wall jump.
- Cling to wall is 4x slower than falling.
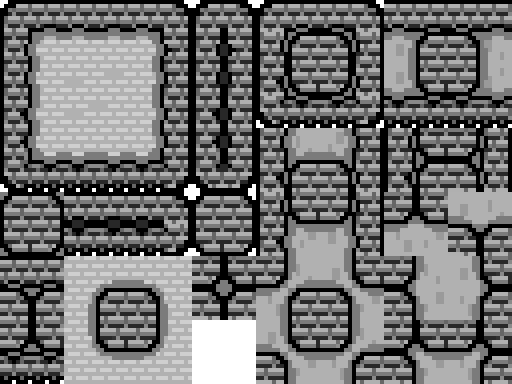
Ground
- Same as a Hard Block, but tiles connect while playing.
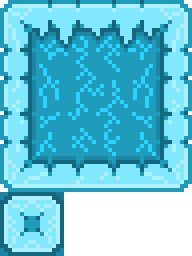
Ice Block
- Hard block (cannot pass through)
- Can run on, 4x less friction, normal max speed.
- Can wall jump.
- Cling to wall is 50% slower than falling.
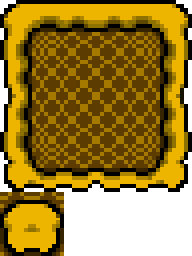
Honey Block
- Hard block (cannot pass through)
- Can run on, 4x more friction, 50% less max speed.
- Can wall jump.
- Cling to wall is 24x slower than falling.
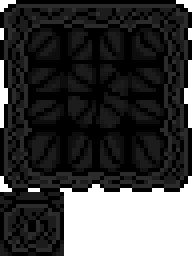
Tar Block
- Hard block (cannot pass through)
- Cannot run on, you are stuck, jump to get free.
- Can wall jump
- Cling to wall is 500x slower than falling.
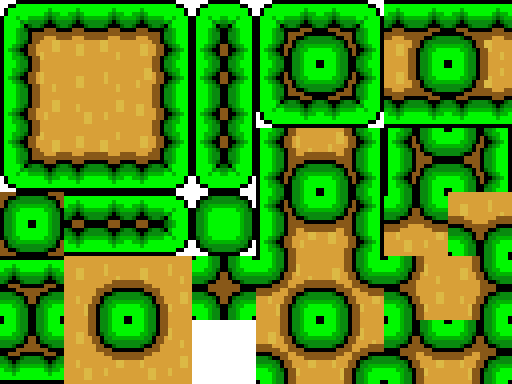
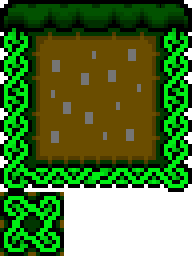
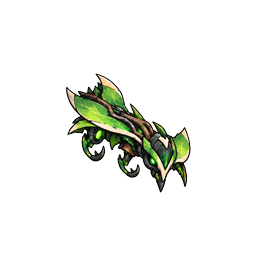
Vine Block
- Hard block (cannot pass through)
- Can run on, normal speeds.
- Can wall jump, as well as climb up and down the sides.
- Can climb on bottom of block, hold down and jump to release.
Spike Block
- Hard block (cannot pass through)
- Can run on, normal speeds.
- You will take red heart damage when you make contact.
Sticky Spike Block
- Hard block (cannot pass through)
- Cannot run on, you are stuck, jump to get free.
- Can wall jump
- Cling to wall is 500x slower than falling.
- You will take red heart damage when you make contact.
Death Block
- Hard block (cannot pass through)
- This block is insta-death, doesn't matter how much health you have.
- Don't touch.
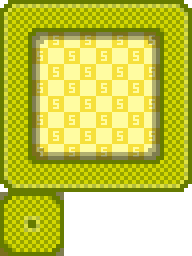
S Block
- Hard block (cannot pass through)
- Can run on, normal speeds.
- Turns into dashed lines when s-switch is active.
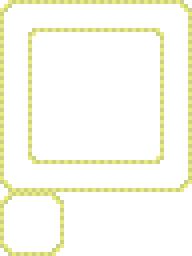
S Dash Block
- You pass right through this.
- Turns into a hard block when s-switch is active.
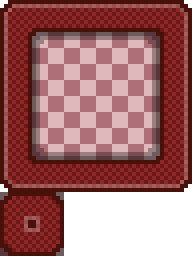
Red Block
- Hard block (cannot pass through)
- Can run on, normal speeds.
- Turns into dashed lines when on-off is on.
Part Block
- Hard block (cannot pass through)
- Can run on, normal speeds.
- Will disappear on contact in exchange for 100 parts.
Blue Dash Block
- You pass right through this.
- Turns into a hard block when on-off is off.
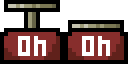
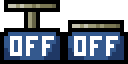
On Block
- Hit this to turn the global state of the level on or off.
Kaizo Block
- Is invisible and non-interactive on level start, activates by hitting the bottom
- Hard block, cannot pass through (after activated)
- Can run on, normal speeds.
Kaizo Dash Block
- Dashed lines and non-interactive on level start, activates by hitting the bottom
- Hard block, cannot pass through (after activated)
- Can run on, normal speeds.
No Player Block
- You pass right through this.
- Enemies, items, objects all have collision with it, like a hard-block.
Sticky No Player Block
- You pass right through this.
- Enemies, items, objects all have collision with it, like a hard-block.
- Enemies stick to this block, no movement.
Only Player Block
- For you, this is like a hard-block, with collision and everything.
- Enemies, items, objects all pass through this like it doesn't exist.
Left Treadmill
- Collision like a hard block.
- When landed on this block, you'll be moved to the left.
Right Treadmill
- Collision like a hard block.
- When landed on this block, you'll be moved to the right.
Key Block
- A normal block, but when you put a key into it, it unlocks (disappears).
Teleport Block
- Press up when you're standing on top of this block and you'll be teleported to it's counterpart.
Portal Block
- Make contact with this and you'll be pulled in and teleported to it's counterpart.
Exclamation Block
- Activate this block to generate a hidden enemy, item, or object.
- Hit it from underneath (or on the side with a spinning enemy) to activate.
- Place enemy, item, or object over this tile in editor mode to put one of those inside.
Semi-Solid Platform
- You only interact with the top, you'll pass through otherwise.
- Can run on, normal speeds.
One-Way (North)
- You can only pass through one way (north).
One-Way (East)
- You can only pass through one way (east).
One-Way (South)
- You can only pass through one way (south).
One-Way (West)
- You can only pass through one way (west).
Notice Board
- This sits out in space, floating, doing nothing.
- Click to type stuff.
Rope
- You can freely climb, vertically and horizontally.
Falling Platform
- You only interact with the top, you'll pass through otherwise.
- Can run on, normal speeds.
- Platform will start falling when you land on it.
- You can still jump off as it falls.
Rising Platform
- You only interact with the top, you'll pass through otherwise.
- Can run on, normal speeds.
- Platform will start rising when you land on it.
- You can still jump off as it lifts.
Up-Down Platform
- You only interact with the top, you'll pass through otherwise.
- Can run on, normal speeds.
- Platform will continually move up and then down and then back up again...
Left-Right Platform
- You only interact with the top, you'll pass through otherwise.
- Can run on, normal speeds.
- Platform will continually move left and then right and then back left again...
Buzzer
- Enemy, will walk off of ledges.
- Jump on to disable, spin jump to kill.
- Can be held when disabled, hold run to grab.
- Throw forward by letting go of the run.
- Drop nicely by holding down and letting go of run.
- Kick upwards by holding up and letting go of run.
Random Boss
- Spawns a random boss from the selected Boss Level.
- If that Boss Level has no boss yet, Boss Level 1 is used for the boss selection while keeping the selected difficulty scaling.
- Tier controls the boss moveset and base health.
Supremo
- An easily killed enemy, jump on them at will.
- Yay, more meat for the grinder!
Runner
- Low-health ground enemy that sprints much faster than a Buzzer.
- Uses an extremely quick lunge as soon as it gets into melee range.
Hopper
- Moves almost entirely by repeatedly hopping around the level at a slower cadence.
- When aware of Spark, its hops aim toward him, and ceiling hits immediately send it back downward.
Skitterer
- Small, fragile, and extremely quick with frequent direction changes.
Bruiser
- Slow, durable melee enemy with a large telegraphed heavy swing.
Rammer
- Charges in a straight line after a warning and stuns itself when it crashes into solid terrain.
Spitter
- Keeps distance and fires slow aimed projectiles at Spark.
Tumbler
- Rolls aggressively across the ground and is vulnerable after slamming into terrain.
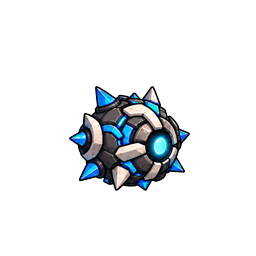
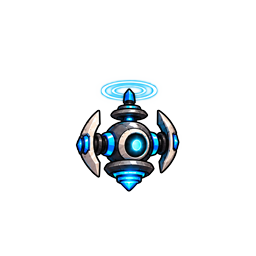
Beaconling
- Hovers around its spawn area and periodically releases a radial projectile pulse.
Empty Buzzer
- Like a regular Buzzer, but it has no soul.
- Free to pick up and use like you would a stunned Buzzer.
Buzzah
- Enemy, won't walk off of ledges, will turn back.
- Jump on to disable, spin jump to kill.
- Can be held when disabled, hold run to grab.
- Throw forward by letting go of the run.
- Drop nicely by holding down and letting go of run.
- Kick upwards by holding up and letting go of run.
Supremah
- An easily killed enemy, jump on them at will.
- Yay, more meat for the grinder!
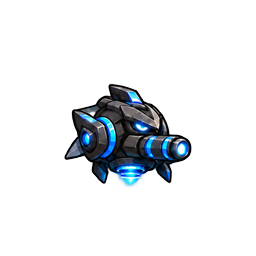
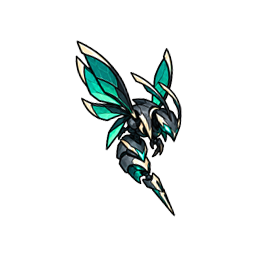
Divewing
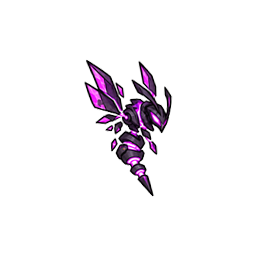
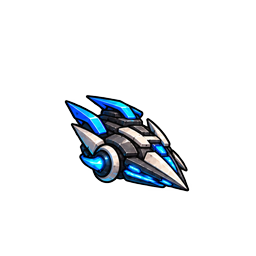
- Blue Stinger that swoops at Spark from above.
Lobber
- Throws slow arcing projectiles that use the normal directional platform collision rules, including one-way and semi-solid faces.
- Each glob shatters into varied light-green fragments with different sizes, speeds, ranges, and gravity-driven arcs.
Ambusher
- Starts almost completely translucent until Spark gets close, then reveals itself and fights normally.
- If Spark escapes, it searches, returns home, and becomes translucent again once idle.
Wall Pouncer
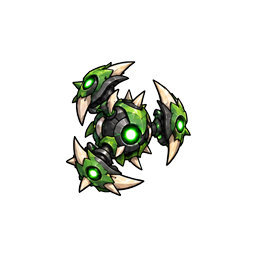
- Searches for a wall, visibly leaps to it, attaches, and waits.
- Shows a clear wind-up before making a slower arcing pounce at Spark.
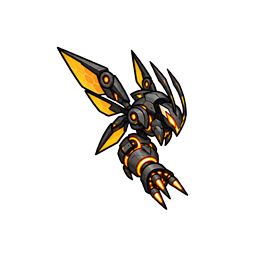
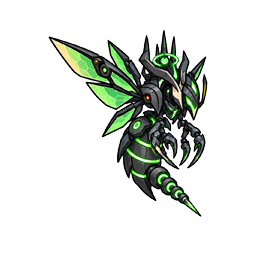
Diver
- Roosts on walls or ceilings while inactive.
- Leaves its perch and performs a fast aerial swoop when Spark is detected.
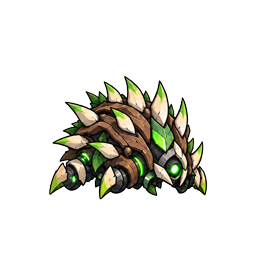
Thornback
- Armored from the front and most vulnerable from behind or during its attack opening.
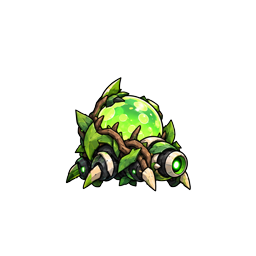
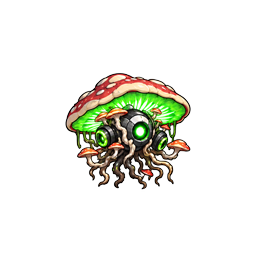
Sporecap
- Releases lingering spore hazards around itself to control nearby space.
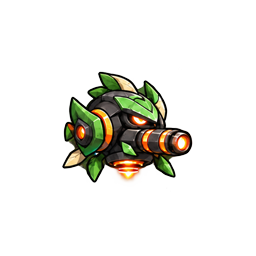
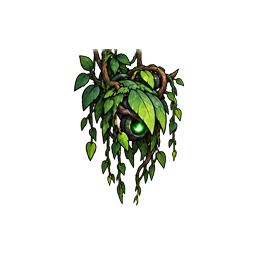
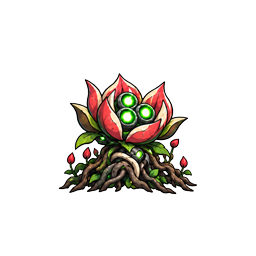
Bloom Pod
- Launches seed pods that create temporary hazardous growths.
Bazzah
- Enemy, won't walk off of ledges, will turn back.
- Normal jump on him will make you take damage.
- Spin jump will be safe, but he will not be hurt.
Supramah
- An easily killed enemy, jump on them at will.
- Yay, more meat for the grinder!
Ceiling Dropper
- Only chooses ceilings that are actually above it with a clear path upward, then flies directly to the underside.
- Drops straight down when Spark passes underneath, then immediately searches for another ceiling.
Block Crawler
- Traces the exposed boundary of connected block structures as one continuous perimeter.
- Uses exact corner points and constant-distance movement to stay smooth around outside and inside corners.
- Its spiked head hurts Spark on a normal jump while flip jumps remain safe.
Burrower
- Never loses Spark and travels underground between attacks.
- Prefers to emerge downward from ceilings, fire a fast three-projectile spread at Spark, and retreat back into the ceiling.
- If no usable ceiling exists, it falls back to the same visible dig cycle through a floor.
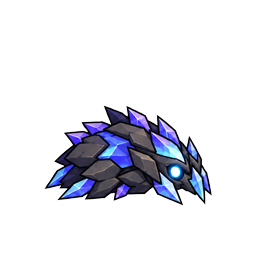
Shardling
- Breaks into two smaller crystal fragments the first time it dies.
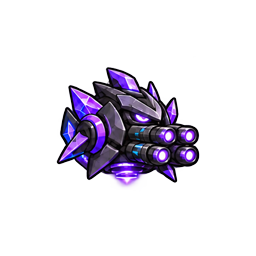
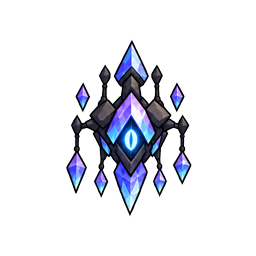
Prismeye
- Hovers at range and fires precision crystal shots.
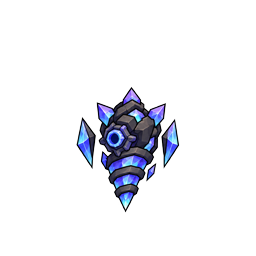
Geode
- Alternates between an armored closed state and a vulnerable radial attack state.
Crystal Leech
- Flies toward Spark and pressures him at close range while draining Fyre on contact.
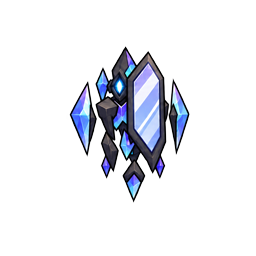
Mirrorling
- Copies incoming player pressure with delayed reflected attacks.
Phasewing
- Small, fragile, and always dangerous to touch.
- Slowly phases through walls while drifting toward Spark.
Grappler
- Targets Spark almost immediately from very long range, then fires a very fast physical grapple hook that must connect.
- Can grapple several blocks vertically and attacks quickly after the pull, so Spark has to time the escape jump.
Flanker
- Very fast enemy that races to the side of Spark opposite the enemy pack.
- If Spark blocks the route, it vaults high over him instead of trying to run through him.
- Once in position, fires a quick series of three projectiles.
Ninja
- Never loses Spark and waits outside the fight while Spark is stationary.
- When Spark starts moving, it teleports ahead, fades in, attacks, pauses while vulnerable, then fades back out.
- Once fade-out begins, projectiles pass harmlessly through it and its health bar disappears.
Ceiling Walker
- Moves inverted along ceilings and attacks downward.
Gravity Well
- Hovers near its home position and pulls Spark toward itself before releasing attacks.
Vector
- Attacks with fast cardinal-direction movement and sharp direction changes.
Swapling
- Telegraphs a spatial attack that can exchange positions with Spark.
Orbit Wisp
- Circles Spark and periodically breaks its orbit to attack.
Null Field
- Projects a disruptive field that changes movement pressure around Spark.
Scattersting
- Keeps moderate distance and fires a three-way spread shot.
- Hovers low enough that Spark can still jump up and attack it.
Deflector
- Its forward shield destroys incoming player projectiles and its spiked head punishes normal jumps.
- A flip jump is safe, and a missed heavy melee swing leaves it fully stunned for the entire opening even while taking damage.
Protector
- Projects a large shield around nearby enemies.
- Attacks from outside the shield cannot damage enemies inside it.
- Moves toward groups of allies to keep them protected.
Healer
- Stays behind nearby allies and heals damaged enemies.
- Can heal twice before it must try to shoot Spark.
- Uses long sniper-like range with a normal-speed projectile.
Bomber
- Very briefly charges its shot, then marks Spark's predicted position and fires an explosive orb straight through walls toward the reticle.
- The blast lands when the projectile reaches the marked location, forcing Spark to keep moving.
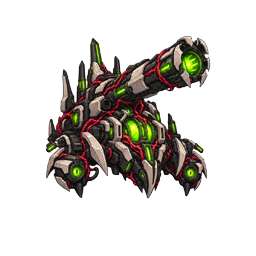
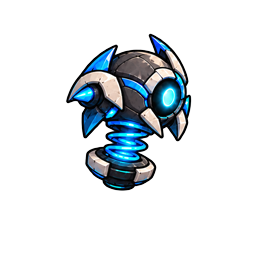
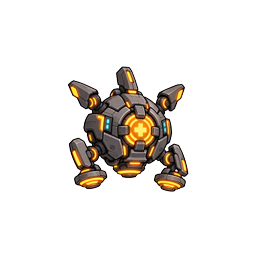
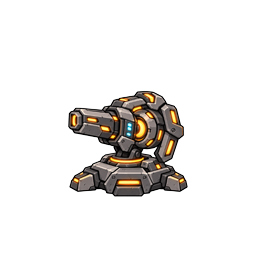
Sentry Node
- Stationary ranged turret that controls lanes with repeated fire.
Mine Layer
- Retreats while leaving temporary proximity mines behind.
Relay
- Supports ranged allies and adds synchronized crossfire from another angle.
Packet
- Small, fast network drone that aggressively changes combat positions.
Redirector
- Creates linked projectile redirection points that reshape enemy firing lanes.
King Bazz
- Enemy, won't walk off of ledges, will turn back.
- Normal jump on him will make you take damage.
- Spin jump will be safe, but he will not be hurt.
- Will move fast and spin when you get close.
KingSupreme
- An easily killed enemy, jump on them at will.
- Yay, more meat for the grinder!
Summoner
- Patrols near its spawn instead of chasing Spark.
- Creates up to five tethered melee summons.
- Revives defeated summons when given enough space.
Ravager
- Gets faster and more aggressive as its health gets lower.
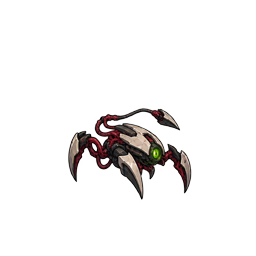
Parasite
- Attaches to other enemies to strengthen them and seeks a new host when possible.
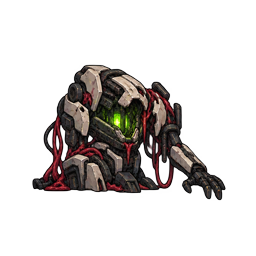
Husk
- Revives once after being defeated.
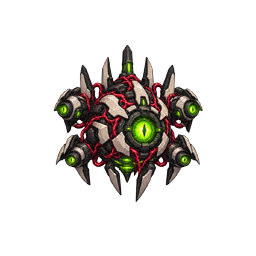
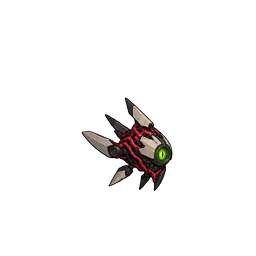
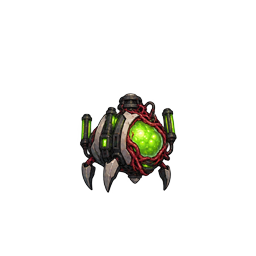
Blister
- Ruptures into a dangerous area burst when killed.
Corruptor
- Consumes its own health to empower nearby corrupted enemies.
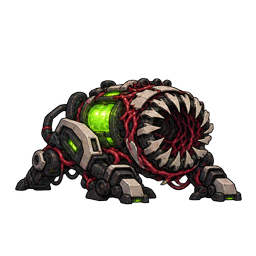
Maw
- Absorbs incoming projectile pressure and retaliates with stored energy.
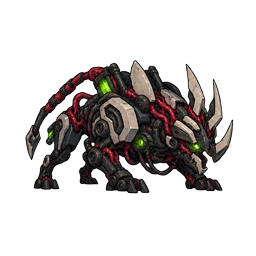
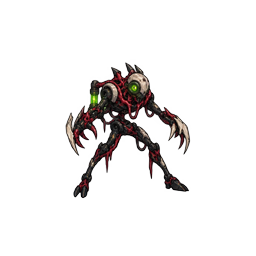
Fleshling
- Mutates into a stronger second combat form after taking enough damage.
Crownsting
- Grabs nearby ground enemies and drops them onto Spark.
- When nobody is available to carry, it keeps distance and uses a laser-sighted sniper shot.
Suppressor
- Creates a strong suppression field that cuts player projectile speed to 20% and Wand summon movement to roughly 10%.
- Fights from range with a normal single projectile.
Warden
- Fires deployer shots that build suspended energy barriers wherever the shot finishes.
- Can maintain three barriers at once, randomly creating 1x3, 3x1, 1x4, or 4x1 walls in open space.
- Lobs glue-like projectiles that create up to four long-lived slowing puddles on the floor they land on.
- Keeps medium distance and only has a weak short melee bash.
Commander
- Chains itself to up to three nearby enemies and speeds up their movement and attacks.
- Outside combat, the chain becomes each ally's patrol boundary: reaching the end immediately turns the ally back toward the Commander.
- Moves toward the tethered ally farthest from it so the group stays together.
- Cannot attack while tethering. Without a tether it only has a slow melee lunge.
Singularity
- Creates a powerful gravitational pull followed by a dangerous radial attack.
Chronolock
- Creates temporal pressure that slows Spark in its influence.
Gatekeeper
- Repositions itself and allies to attack from unexpected locations.
Arbiter
- Telegraphs long danger lanes before firing heavy Nexus shots.
Mirror
- Creates delayed hostile echoes of Spark-like attacks.
Assimilator
- Consumes wounded nearby enemies to heal and temporarily strengthen itself.
Goal Orb
- You beat the level when you touch this.
- Can place as many as you want.
Key Orb
- You beat the level when you touch a held key to this
- Can place as many as you want.
Fog Volume
- Emits localized drifting fog behind solid level geometry.
- Resize the volume to control where fog is generated.
Weather Area
- Changes the active weather when Spark enters the area.
- The selected weather persists until another Weather Area is touched.
Poison Cloud
- Creates a visible green choking cloud inside the area.
- Breath drains while inside and recovers after leaving.
Script Trigger
- Runs sequential script steps when Spark enters the area.
- Combine dialogue, movement, sprite states, facing, camera focus, and waits with +AND.
Physics Area
- Changes physics when Spark enters the area.
- Gravity, jump strength, coyote time, and jump buffering persist until another Physics Area is touched.
Ivan Wake Area
- If this exists anywhere in the level, Ivan starts inactive instead of following Spark.
- Ivan lies at this area and starts following Spark when Spark enters it.
Checkpoint
- You return to the last checkpoint when you die.
- Make contact with this to active it.
- You must clear the level from each checkpoint to upload.
No Weapon
- You lose an equipped weapon when you touch this.
- Can place as many as you want.
No Gloves
- You lose any equipped Gloves when you touch this.
- Can place as many as you want.
Heart
- Replenishes one red heart.
Max Heart
- Increases your maximium red health pool, also grants you one red heart.
Blue Shield Heart
- Increases your shields, protecting you from most damage sources.
- Spikes & poison water remove red health first.
Waffle
- For treasure seekers
- Can place 5 per level
- If level is featured, will count towards their overall Waffle count
- If level is featured and there are no waffles, Spark will put them in
Double Jump Gem
- Every gem you collect lets you double jump one more time.
- These can be chained together in air.
Daggers
- Gives Spark A Pair of Small Daggers
- Sends damage in small arcs in front of Spark
- Press ; to start swiping
Sword
- Gives Spark A Sword
- Sends damage in an arc in front of Spark
- Press ; to swipe
Bow
- Gives Spark A Bow
- +Gravity, Unlimited Range
- Press ; to shoot
Staff
- Gives Spark A Staff
- Unlimited Range
- Press ; to shoot
Wand
- Gives Spark A Wand
- Summons pets to fight by your side
- Press ; to generate
Boomerang
- Gives Spark A Boomerang
- Projectiles come back to you.
- Press ; to shoot
Grappling Hook
- Gives Spark A Grappling Hook. Swing like Spooderman.
- Press Spacebar to shoot or release, up or down to climb or repel, left or right to swing while in the air.
Grappling Gun
- Gives Spark A Grappling Gun. Pulls you to the point of contact.
- Press Spacebar to shoot or release.
Jet Pack
- Gives You A Jet Pack
- Spacebar to float upwards
- Limited fuel (fills when you touch ground again)
Dash Pack
- Gives Spark A Dash Pack
- Dash in a straight line once after leaving the ground. Feel free to adjust direction mid-air.
Buzzer Pack
- Lets you create Empty Buzzers at will
- Hold run and press Spacebar to spawn an Empty Buzzer in your hands. Jump and press Flip Jump to surf.
Teleport Gun
- Press Spacebar to throw a teleport projectile, press again to teleport yourself to its current location. You are also teleported to whatever wall it collides with.
Wall Jump Gloves
- Gives Spark a pair of Spikey Gloves
- Enables wall jumping.
Wall Climb Gloves
- Gives Spark a pair of Super Spikey Gloves
- Enables wall & ceiling climbing on every block type.
Double Jump Boots
- Gives Spark a pair of Gravity Defying Boots
- Press Jump again while in the air to perform a double jump.
Mind Meld
- Your projectiles will be affected by player speed, giving you the ability to influence their position in space.
Gengarish
- Your projectiles will pierce walls.
Shriker
- Your projectiles will pierce enemies.
Shatter Shot
- Your projectiles will break apart on collision, releasing more projectiles.
Ferality
- You will attack faster.
Pietrom
- Your projectiles will move faster.
Evisceres
- Your projectiles have increased damage.
Lancet
- Your projectiles will have more range.
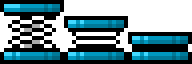
Spring
- Jump on this, and you go much higher than normal
- Grab this by holding run
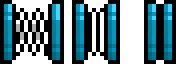
Sideways Spring
- This will launch you and other things sideways.
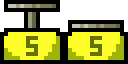
S-Switch
- Turns yellow dashed lines into blocks, and vice versa
- Grab this by holding run
On-Switch
- Turns dashed red lines into blocks, blue blocks into dashed lines.
- Grab this by holding run
Off-Switch
- Turns dashed blue lines into blocks, red blocks into dashed lines.
- Grab this by holding run
Key
- Solid object, this can be held
- Will open doors, unlock blocks, and beat levels (key orb)
Wood Crate
- Solid object, this can be held
- Floats on water, poison, holy, honey, tar, burns in lava.
- Will activate switches if dropped on them.
- Spinning Buzzers will destroy this.
Metal Crate
- Solid object, this can be held
- Sinks in water, poison, holy, floats on honey, tar, lava.
- Will activate switches if dropped on them.
Level 1